
Way back in my March 1, 2015 blog, I shared how circumstances aligned to make 2015 the year that I overcame my fear of baking with yeast. This No Knead Bread was the start, followed by Dakota Bread (have not yet posted that recipe) and Portuguese Muffins. I have now made this bread several times, so am sharing the recipe and my tips. It's worth visiting the (above) blog post to read and view videos about the history of this rather famous recipe from Jim Lahey, popularized by Mark Bittman in the NYT. I will note here that the Lahey bread from his NYC Sullivan Street Bakery was famous, and/but once the recipe was made public, people did not stop at replicating it - they tried to make it better. Among those who responded to that challenge was America's Test Kitchen (ATK). They made a dough that was not as wet, and thus easier for novices to handle; they added beer for flavour; they reduced the proofing time and added 15 seconds of kneading - thus the title - Almost No Knead Bread.
You may want to take five minutes to watch Lahey make the bread - but note that the ATK recipe I am sharing does make some changes. Watching him, it seems - it is - simple enough that a child could make it. Yes, an experienced bread maker makes the whole thing look easy, but there are some things a novice like me had to know, think about, plan and prepare. If you are a new and/or nervous bread maker, then I encourage you to check out my Tips first! All my tips may unintentionally make this seem complicated, but careful review of my notes should lead to ease and success.
Important prep and tools for this recipe:
You need a cast-iron Dutch oven or heavy stockpot with a lid; NB! the black knob on a le Creuset lid cannot withstand the high oven temps in this recipe. The black knob can be easily/temporarily removed and replaced with a stainless knob that le Creuset sells, or some other oven proof knob from a hardware store - you can even stuff the little hole with foil.
The hardest part is figuring out the timing you will use - especially since you can choose to make the first rise anywhere between 8-18 hours; in my case I did the batter prep in the evening and began the first rise; I was busy the next morning so did the next step of kneading 10-15 times at noon-ish (that was almost 16 hours later); 2 hours for the next rise took me to 2:00; minutes later it was in the oven for a (two step) 60 minute bake; was supposed to cool for 2 hours (3:00 to 5:00) but I couldn't wait that long - it went great with dinner around 4:30. I have created this planning chart to help with the timing.
Figure out where you will place the bread during proofing periods. Because this proofs for so long, apparently it can be left at room temperature - but what is that? (see Notes). Ideal if it is in a place where it will be undisturbed and where there will be no drafts. I put it in my powder room, but some people put it in their oven with the light on. Serious bakers can even make or buy proofing drawers. (See more on proofing in Notes below.)
Optimal success with this recipe hinges on an exact ratio of flour to water - and thus exact measures. Both the flour AND the liquids should ideally be weighed with a digital scale.
An instant read thermometer such as a Thermapen comes in handy to test for doneness - but I have found it is always done in the prescribed time so don't reject this project if you don't have this device.
parchment; vegetable spray; rapid rise yeast; lager
I am leaving the rest of the Tips for below...
3 cups (15 ounces) all-purpose flour
1 1/2 tsp salt
1/4 tsp instant / rapid rise yeast (not Traditional Active - see Notes)
3/4 cup +2 TB water, room temperature; 7 ounces by weight
6 TB mild lager, room temperature; 3 ounces by weight
1 TB distilled white vinegar
Mix and First Proof. Whisk flour, salt and yeast together in a bowl.
Wet into dry is the rule for mixing bread. Add the water, beer and vinegar. Mix using your hand or a rubber spatula, scraping up dry flour from the bottom of the bowl until a shaggy ball forms. (It will not be as wet as what you see in the Lahey video, but if for some reason the mixture does not want to hold together, add a TB of water or lager.) Cover the bowl with plastic wrap and leave it to rise at room temperature for 8 to 18 hours.
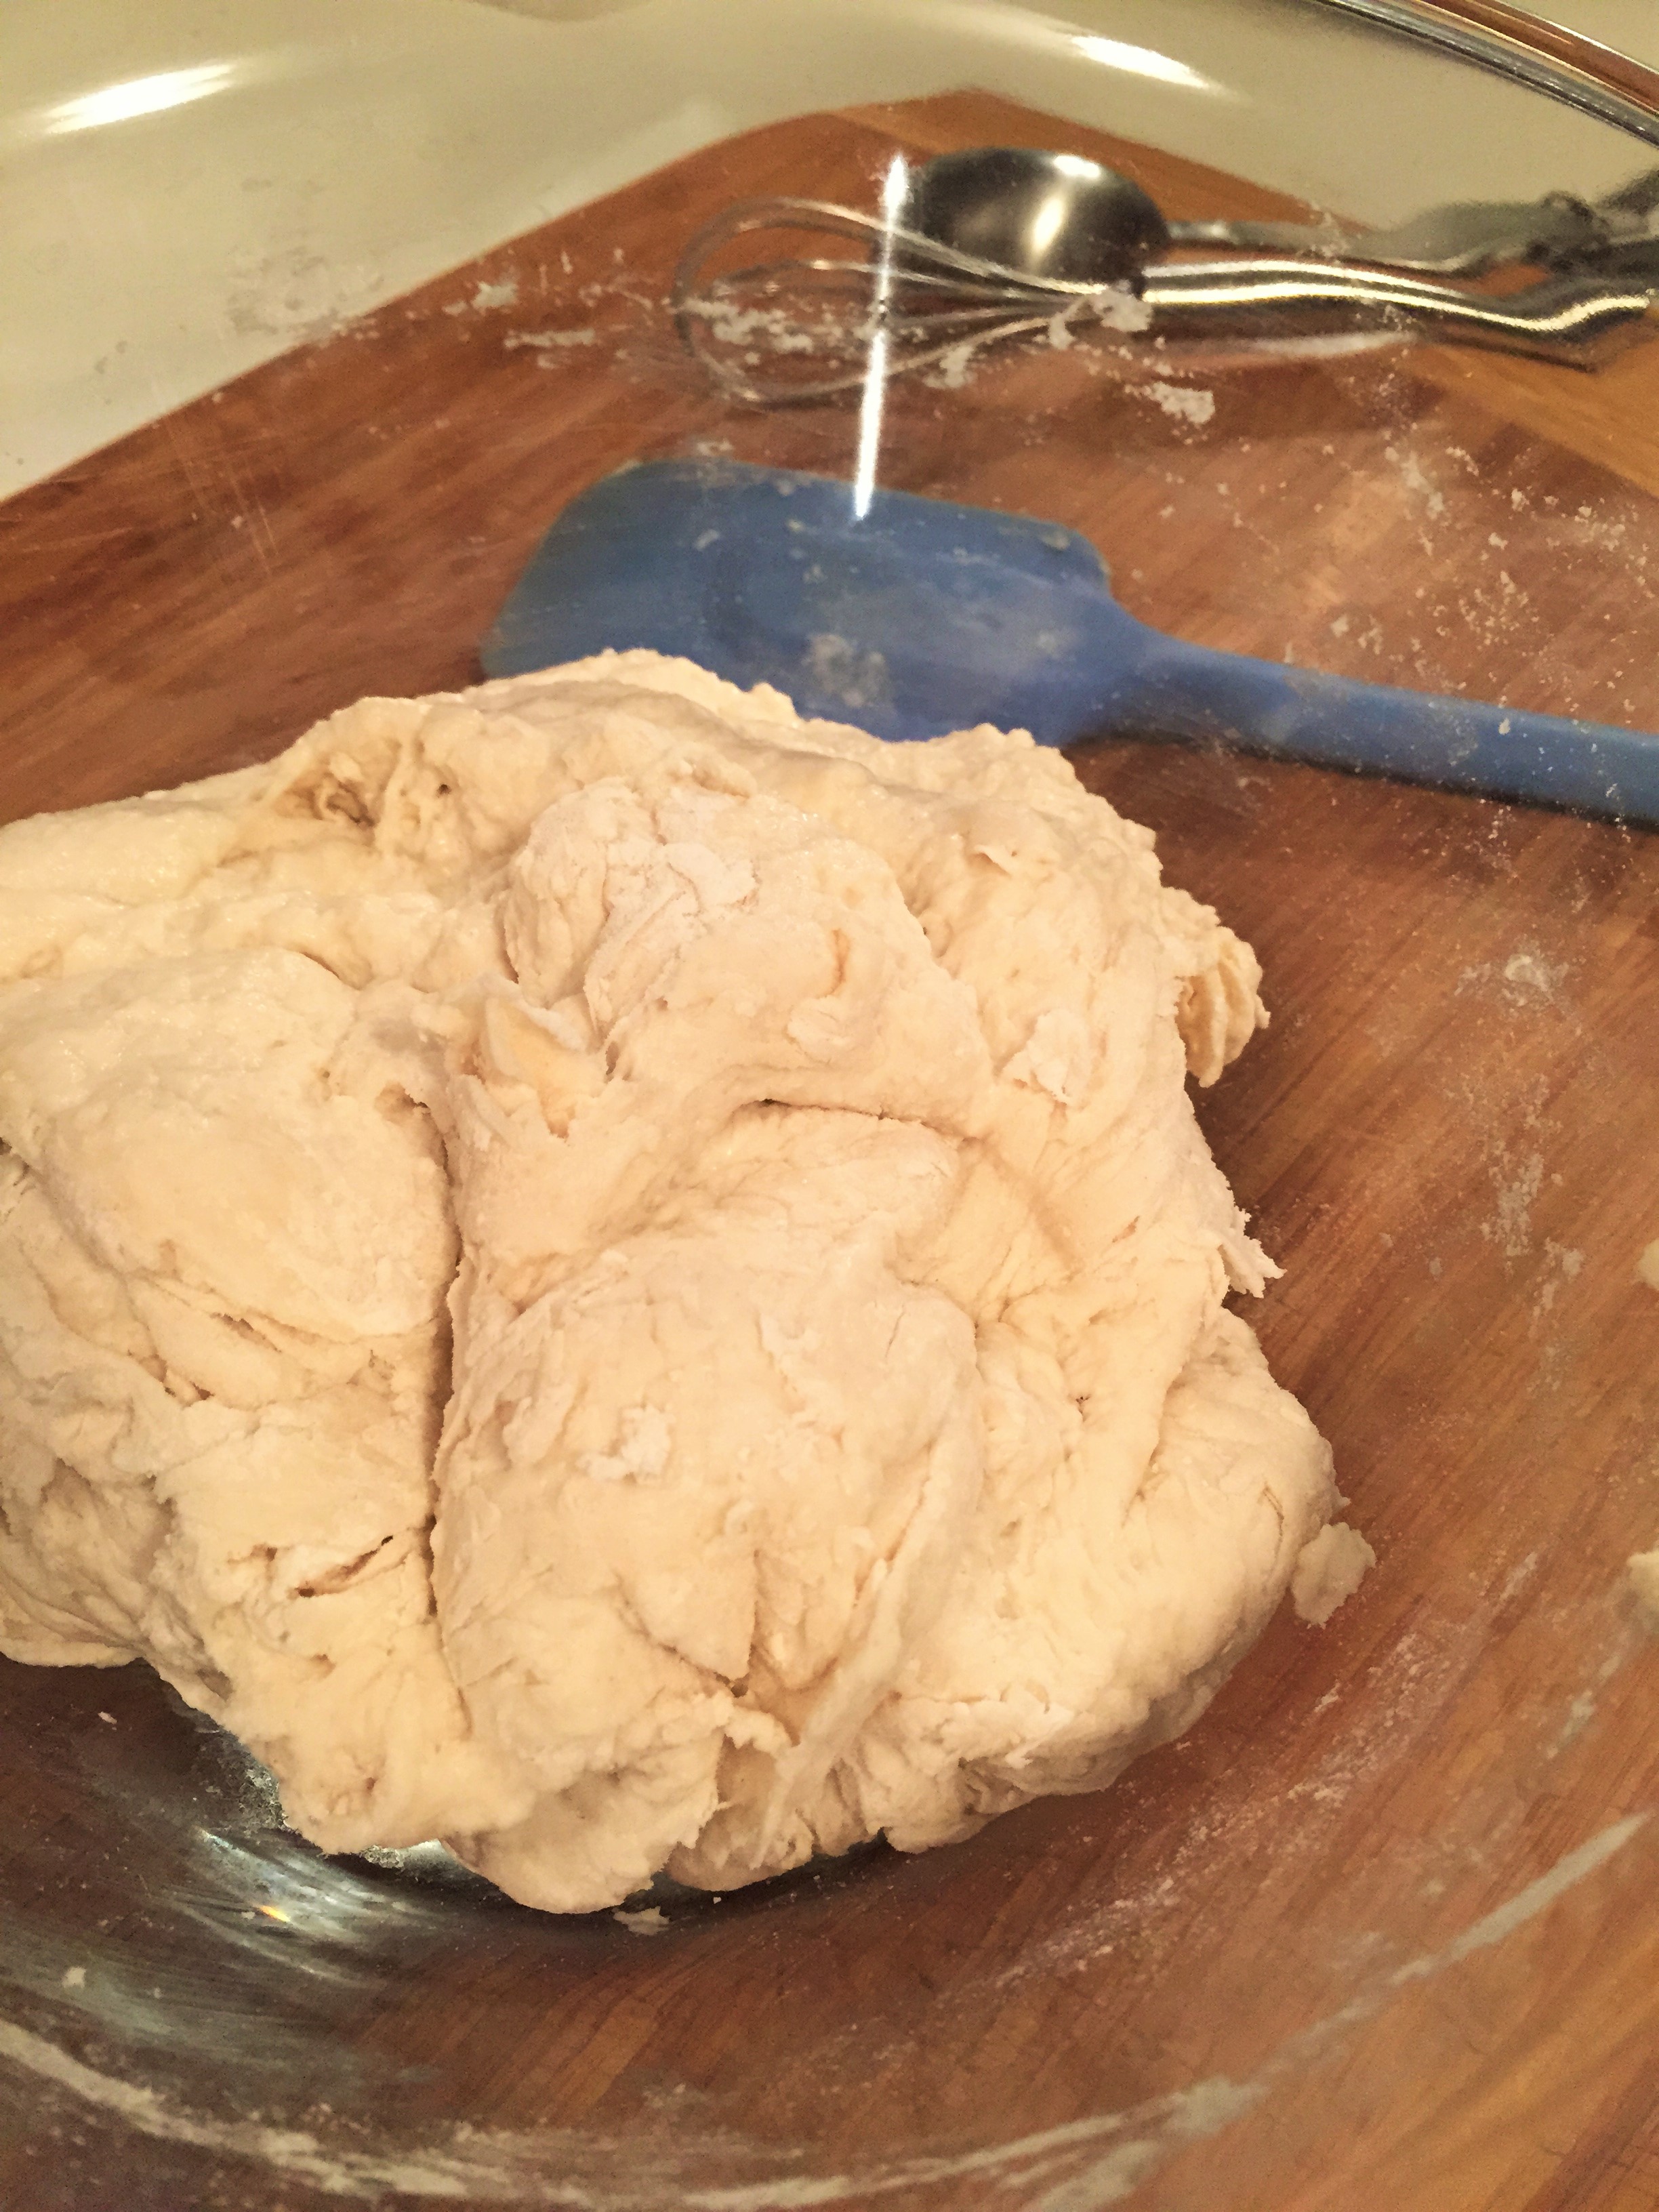
Shaggy ball of dough...

Ready for second proof - will be covered loosely with plastic
Knead and second proof. This step will end with the dough in another container so get that ready first. ATK suggests using a fry pan; I use a low sided le Creuset braise pan. Whatever you use, the pan is not going into the oven, it's just a more open container for the second rise. Place an 18 x 12" sheet of parchment paper inside the 10 inch pan and spray lightly with oil spray. Transfer the dough to a lightly floured counter. Flour your hands and knead by hand only 10 to 15 times. Shape the dough into a ball by pulling the edges into the middle and giving the ball a little roll to smooth out that seam. Transfer the dough seam side down to the prepared pan and spray the top of the dough with oil spray. Cover the dough loosely with plastic and let it rise at room temperature until doubled in size - about 2 hours. The dough should barely spring back when poked with your knuckle. (If you decide to use the preheated Dutch oven method in the next step, you'll be happy to have the dough sitting in the parchment 'sling' - makes the transfer much easier and safer.)
With half and hour to go in this two hour proofing stage, preheat the oven... well here's where I must share some recipe discrepancies. Even if I compare only the ATK recipes - never mind all the versions on the internet - there are some differences. 1) where to put the oven rack? in the middle, lower middle or lowest setting? 2) preheat to 500 F and lower to 425 F when dough goes in, vs. just preheat to 425 F? 3) empty Dutch skillet is warmed for half an hour vs. not warmed at all. I have decided to go with rack in middle, preheat to 500 and lower to 425, and preheat the empty Dutch oven.
With 30 minutes left on the second proof. Put the empty Dutch oven with the lid on (with the safe knob) onto the middle rack of the oven, and set it to preheat to 500 F.
When second proof time is done. Lightly flour the top of dough and use a sharp knife to make one 6" x 1/2" deep slash across the top of the dough.
Reduce the oven temperature to 425 F. Carefully protecting your hands with oven gloves, remove the Dutch oven from the oven, remove the lid and pick up the dough ball by lifting the parchment sling and transferring it to the Dutch oven. Excess parchment can hang over the edge. Cover the pot and bake for 30 minutes. Remove the lid and continue to bake 20 to 30 minutes longer, until the crust is deep golden brown and the bread registers 210 F on the thermapen. Sometimes even at the full bake time mark (30 + 30 minutes) I am only getting a read of 208, but the bread is done. You want the crust to be dark, but not burnt, so trust your observations.
With oven gloves on, carefully remove the bread from the pot, lifting the parchment corners. The parchment will be dried out and may tear, so do this carefully, and if necessary just grab the bread with your gloved hands. Transfer it to a wire rack, discard the parchment and let the bread cool completely (about two hours) before slicing and serving. I have never been able to wait longer that long...
The bread is best eaten on the day it is baked. I wrap the bread in a tea towel and place it in a plastic bag and store at room temperature for several days. To re-crisp crust, place unwrapped bread in a 450° oven for 6 to 8 minutes.


Notes and Tips...
Flour - most versions of this recipe call for all purpose flour; I have made it with a different flour each time and the one I like best is Bob's Red Mill Artisan Bread Flour. Don't ask me about the differences - remember I am a novice in this area.
Measuring ingredients - precision is important. It is best to weigh out the 15 ounces of flour. Apparently, for bread, success hinges on the exact ratio of flour to liquid, and research has shown that the traditional "dip and sweep/level" method of dry measure can be off by 10%. The water and beer should also be weighed.
Yeast - as a newbie to the use of yeast, it was interesting to note the importance of buying instant/rapid rise (vs. active dry). If the labeling is confusing, note that the instant/rapid rise yeast ingredients will list yeast and ascorbic acid. Note the expiry date. Each packet usually contains 2 1/4 teaspoons yeast - but for this you need only 1/4 tsp - seems like not enough, but it works, especially since it has such a long time to rise. I think my aversion to yeast baking was linked to failure and in hindsight I was probably killing the yeast when a recipe specified that the yeast be activated in "warm" water. The nice thing with this recipe is that the yeast is added to the dry mix - no need for that "activation / bubbling" step.
Room temperature: wet ingredients - the water and the beer must be at room temperature - and you can measure this with the thermapen if you have one. For liquids, room temp is 20-25 C / 68-77 F.
Mild lager - ATK is American and they suggest Budweiser, but we have great microbreweries here in Canada. I often use Mill Street Lager.
Room temperature: air / proofing - Be it winter or summer, we don't all set our thermostats the same. Wikipedia does have an entry on room temperature - "between 16 and 26 °C (61 and 79 °F)". Yeast needs some "warmth" to be activated, but too warm can kill the yeast. Bread-making websites seem to advise not less that 70 and not more than 80 F.
If you like visuals, you may want to watch this random guy making this bread - though he uses clay pots.
Postscript: There's been a little flurry in the media just now about "sour dough" bread which uses a more natural starter instead of commercial yeast. People claim it is more tasty and better tolerated by those who are gluten sensitive. The "flurry" is linked to an episode of a Netflix series called "Cooked" - based on the book by Michael Pollan. This NYT article tells the story about sour dough, "Cooked" and includes info on how to start your own starter AND refers to an adaptation for using this no knead recipe with sour dough starter.
<== VISIT LATEST RECIPES to leave Questions, Comments or Likes! LOVE to hear from you!
You can personalize how this page PRINTS by copying and pasting the page URL into Print Friendly!